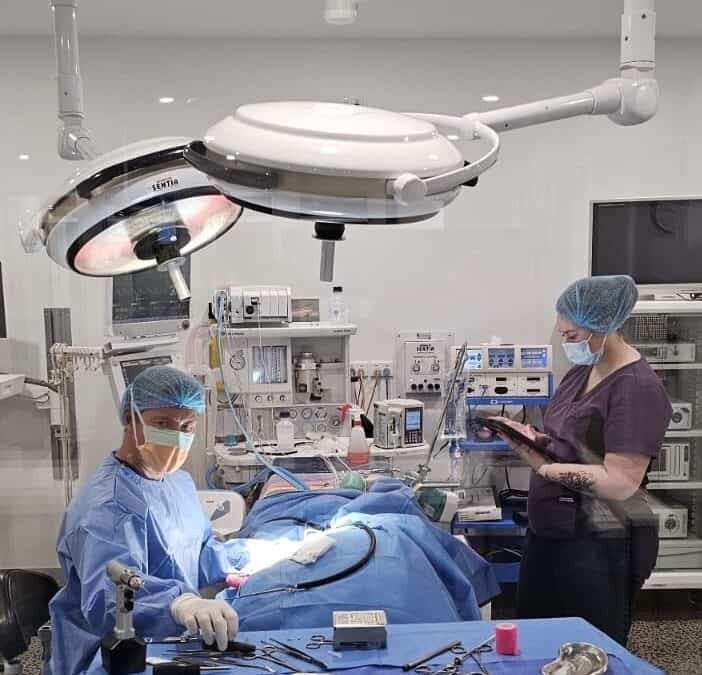
Sterilizing instruments is crucial in veterinary medicine (and other medical fields) to prevent infection and ensure the safety of both patients and staff. Here are the common methods for sterilizing instruments, along with step-by-step procedures:
-
Steam Sterilization (Autoclaving)
This is the most common method for sterilizing surgical instruments.
Procedure:
- Cleaning: Instruments should be thoroughly cleaned to remove any organic material, dirt, or debris. This can involve soaking in an enzymatic cleaner, scrubbing, and rinsing.
- Packaging: Once clean and dry, instruments are packaged in sterilization pouches or wraps to protect them during the sterilization process.
- Loading the Autoclave: Load the autoclave according to the manufacturer’s instructions, ensuring proper airflow and space for steam penetration.
- Sterilization Cycle: Set the autoclave to the appropriate cycle, usually 121-134°C (250-273°F) for a specified time (typically 15-30 minutes, depending on the load and type of instruments).
- Drying: Allow the instruments to dry completely before removing them from the autoclave to prevent moisture accumulation.
- Storage: Store sterilized instruments in a clean, dry area until needed, ideally in a way that protects them from contamination.
-
Ethylene Oxide (EtO) Sterilization
This method is used for heat-sensitive instruments that cannot withstand high temperatures.
Procedure:
- Cleaning: Similar to autoclaving, instruments must be cleaned thoroughly before sterilization.
- Packaging: Pack instruments in suitable containers or pouches that allow gas penetration.
- Sterilization Process: Place the instruments in an EtO sterilizer and follow the manufacturer’s protocols regarding temperature, humidity, and exposure time (usually several hours).
- Aeration: After the sterilization cycle, instruments must be aerated in a ventilated area to allow the gas to dissipate completely before use.
-
Chemical Sterilization (Cold Sterilization)
Chemical agents like glutaraldehyde or ortho-phthalaldehyde can be used to sterilize heat-sensitive instruments.
Procedure:
- Cleaning: Instruments must be cleaned thoroughly before immersion in the chemical solution.
- Immersion: Submerge the instruments in the chemical solution for the recommended contact time (usually 10-30 minutes).
- Rinsing: After immersion, instruments should be rinsed with sterile saline or distilled water to remove any residual chemical.
- Drying and Storage: Dry and store the instruments in a clean area.
-
Radiation Sterilization
This method is typically used for commercially sterilized products rather than in a clinical setting, but it’s worth mentioning.
Procedure:
- Gamma Radiation: Instruments are exposed to gamma radiation to kill bacteria and spores, ensuring they are sterile.
-
Sterilization Indicators
Regardless of the sterilization method used, it’s important to use indicators to confirm that sterilization conditions have been met. This can include:
- Biological Indicators: Use of live spores to confirm that sterilization has been effective.
- Chemical Indicators: Indicators that change color or appearance when exposed to specific conditions (temperature, pressure, or chemicals) during the sterilization process.
-
Important Considerations
- Follow Protocols: Always adhere to your veterinary clinic’s specific protocols and guidelines for sterilization to ensure safety and effectiveness.
- Regular Maintenance: Ensure that sterilization equipment is regularly maintained and calibrated to ensure its effectiveness.
- Training: Staff should be trained in proper sterilization techniques to minimize errors and ensure compliance with health regulations.
By following these procedures, you can effectively sterilize instruments and help prevent the spread of infections in veterinary practice.

